Products >> Aluminium >>
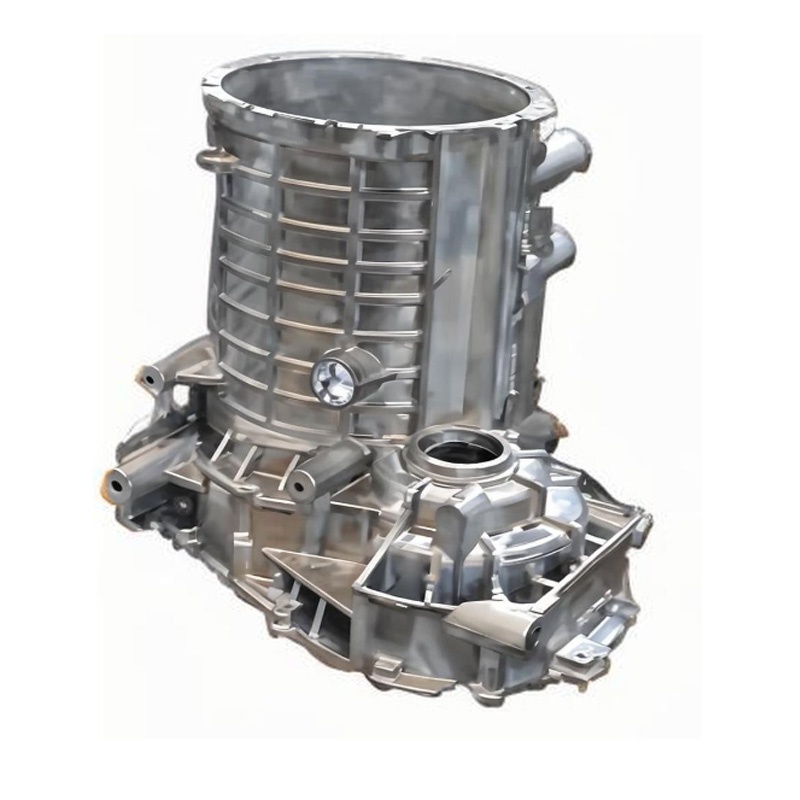
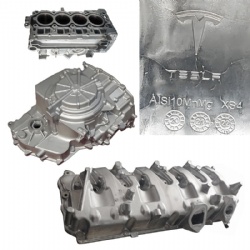
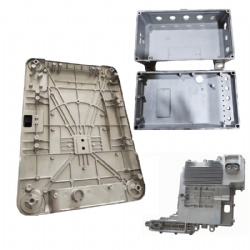
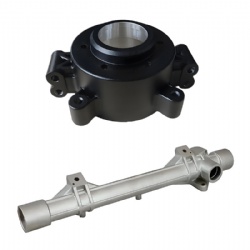
Drive motor housing
Welcome to the entertaining world of cast aluminium drive motor housing production! Let’s take a lighthearted stroll through each step, from raw material to the final product, and see how these essential casings come to life.
1. Raw Material: The Star of the Show
Our story begins with the raw aluminium, the unsung hero in block form. It’s like a contestant ready to hit the stage—full of potential but needing a little transformation. This raw material is sourced and prepared, waiting for its moment in the spotlight.
2. Melting: Getting Hot and Steamy
Next, it’s time for a hot date with the furnace! The aluminium is heated to a blistering temperature, turning it into molten metal. Imagine it bubbling away like a pot of soup, ready to be served. This is the moment when our star sheds its solid state to embrace its new identity.
3. Mold: The Makeover Begins
Now, the molten aluminium needs a mold—a stylish outfit to wear! Custom-designed molds are created to shape the drive motor housing. Picture a fashion designer sketching the perfect gown; here, we’re shaping a robust casing that fits like a glove on a motor.
4. Pouring: Casting the Spell
With the mold ready, it’s time for the pouring! The molten aluminium is carefully ladled into the molds, filling every nook and cranny. This is where the magic happens—watching the liquid metal take form is like witnessing a wizard conjuring a spell. As it cools, it starts to solidify, transitioning from molten to magnificent!
5. Gate Cutting: The Great Escape
Once the aluminium has cooled, it’s time for a little trimming. Gate cutting removes the extra bits that connect the casing to the sprue (the channel through which the molten metal flowed). Think of it as a haircut for the housing—shedding the unnecessary weight and getting it ready for its debut.
6. Blasting: A Spa Day
Next up is the blasting stage, where the casings receive a good scrub. Using abrasive materials, the surfaces are cleaned and smoothed out. It’s like a spa day for the drive motor housing—removing imperfections and preparing for the finishing touches!
7. Precision Machining: The Fine-Tuning
After their spa treatment, the casings head to precision machining. Here, skilled operators use advanced machinery to achieve exact specifications. Any critical features are added, ensuring a perfect fit for the motor. It’s like fine-tuning a musical instrument—every detail matters!
8. Surface Finish: The Final Polish
Now it’s time for the final flourish! The casings undergo surface finishing to enhance durability and appearance. This can involve anodizing or painting, giving each housing a stylish look and added protection. Think of it as the final makeup application before stepping onto the stage!
9. Packing: Ready for the Spotlight
Finally, the casings are packed up and prepared for their big debut in the motor assembly line. Carefully boxed and labeled, they’re ready to embark on their journey to power machines and vehicles around the world. It’s like sending off your star performer with a wave and a cheer!
And there you have it—the whimsical journey of producing cast aluminium drive motor housing! From raw material to the final product, each step is filled with heat, precision, and a sprinkle of humor. So the next time you see a drive motor housing, remember the adventurous process that brought it to life—because even the simplest components have an extraordinary tale to tell!
Products Category
Contact Us

E-mail: [email protected]
WeChat: 18332109035
Whatsapp: 18332109035
Add: Shi Jiazhuang, He Bei Province




 WhatsApp
  Mail inquiry
